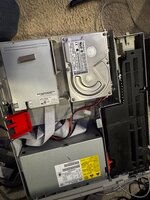
Since I was going to fix 3 of these Powermac G3 beige PC's, I though I might as well draw up all the plastic parts I can print on my Prusa MK4S
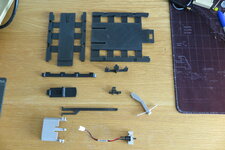
Thus i drew up, printed and tested and adjusted and re-printed the following parts:
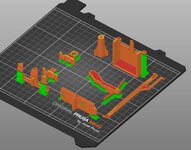
Print with 0.4mm nozzle at 0.1mm layer height with supports everywhere, and snap them right in place when done!
Thus i drew up, printed and tested and adjusted and re-printed the following parts:
- Slide lock for internal swivel chassis
- motherboard support hook
- motherboard latch
- support column for swivel chassis support
- support strut for chassis
- support stand for swivel chassis
- support stand for power switch
- power switch knob assy
- HDD/ZIPdrive tray
- HDD tray receptacle (snaps in to steel frame)
- CD drive tray
Print with 0.4mm nozzle at 0.1mm layer height with supports everywhere, and snap them right in place when done!