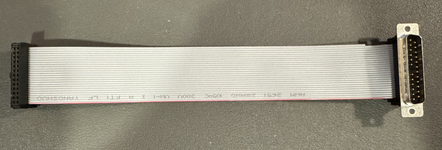
I prefer my helper devices to be covered, and recently learned how easy it is to make basic things in TinkerCad. I recently ordered a set of ESProfiles (internal and external), and while the internal is perfect for my needs, I decided I wanted a case for the external one. So I made the following:

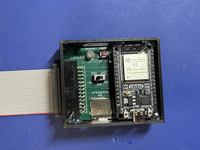
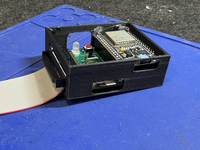
I also have a solid version, but this one should have better airflow and be faster to print. My 3d printer isn't optimized for long bridges, so I did use supports, but it has cut-outs for the cable, access to the microSD card, and the USB-C port (it should work if you have the micro USB version of the ESP dev board). It also has a cutout to see the LED and to access the reset button.
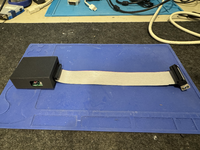
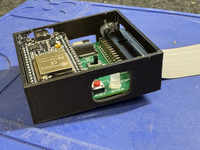
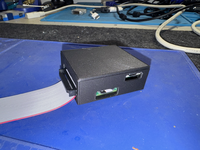
I've attached the STLs for the 2 versions below.
Unfortunately, because there are no mounting holes through the board, I tried to make the case fit as tight as possible, but given printer differences, I didn’t want to be super snug. So I made it a bit loose, and I just used a bit of hot glue at the corners to hold it in place. The lid fits snuggly enough that it will stay on without any additional securing.
I also have a solid version, but this one should have better airflow and be faster to print. My 3d printer isn't optimized for long bridges, so I did use supports, but it has cut-outs for the cable, access to the microSD card, and the USB-C port (it should work if you have the micro USB version of the ESP dev board). It also has a cutout to see the LED and to access the reset button.


I've attached the STLs for the 2 versions below.
Unfortunately, because there are no mounting holes through the board, I tried to make the case fit as tight as possible, but given printer differences, I didn’t want to be super snug. So I made it a bit loose, and I just used a bit of hot glue at the corners to hold it in place. The lid fits snuggly enough that it will stay on without any additional securing.
Attachments
Last edited:

