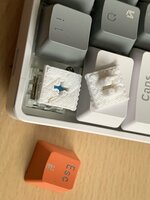
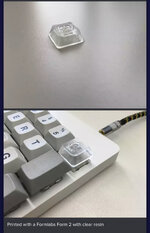
Nice stuff there, etching my own PCB for custom layout would be the way I'd go.
I've been playing with KBD layout since the early 90's. Most of my KBD hacks are in need of only the controller. I found this one recently and another I can't find ATM. The latter has a matrix scanner available for setting up existing KBDs.
 www.pjrc.com
I've been playing with KBD layout since the early 90's. Most of my KBD hacks are in need of only the controller. I found this one recently and another I can't find ATM. The latter has a matrix scanner available for setting up existing KBDs.
Teensy USB Development Board
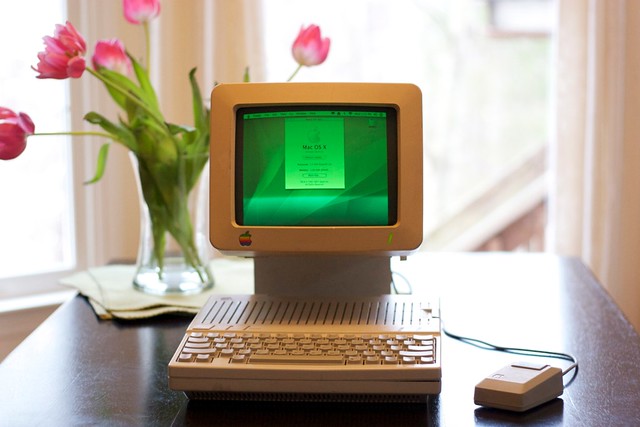
Meet the G4 Apple //c
[Welcome, RetroMacCast listeners!] This is my latest Frankintosh project – housing a G4 Mac Mini in the case of an Apple //c. From all outward appearances, a stock Apple IIc or //c with a lit…
mentalhygiene.com


 Now you have your thread that you can post and talk about your progress with this build.