

OK, With the addition of the the LisaNet module I added (connected to the LisaFPGA's GPIO pins), I noticed with my case and my software enhancements, the chip was getting hotter than it should. So I've optimized the software a bit (and removed a feature I wasn't using - 1024 x 768 support) and have it running within a few degrees celsius of the stock firmware. I think with my case, the vertical orientation, and the software, it is higher than I feel comfortable with.
So I've added a spot for a 40x40x10mm fan above the FPGA chip. I also have reworked the rear case so that it can be printed without supports. That required removing the skirt from the main body and allowing it to be printed separately. One advantage of that is that you can print the skirt you like (with the cutout for the keyboard cord, or without).
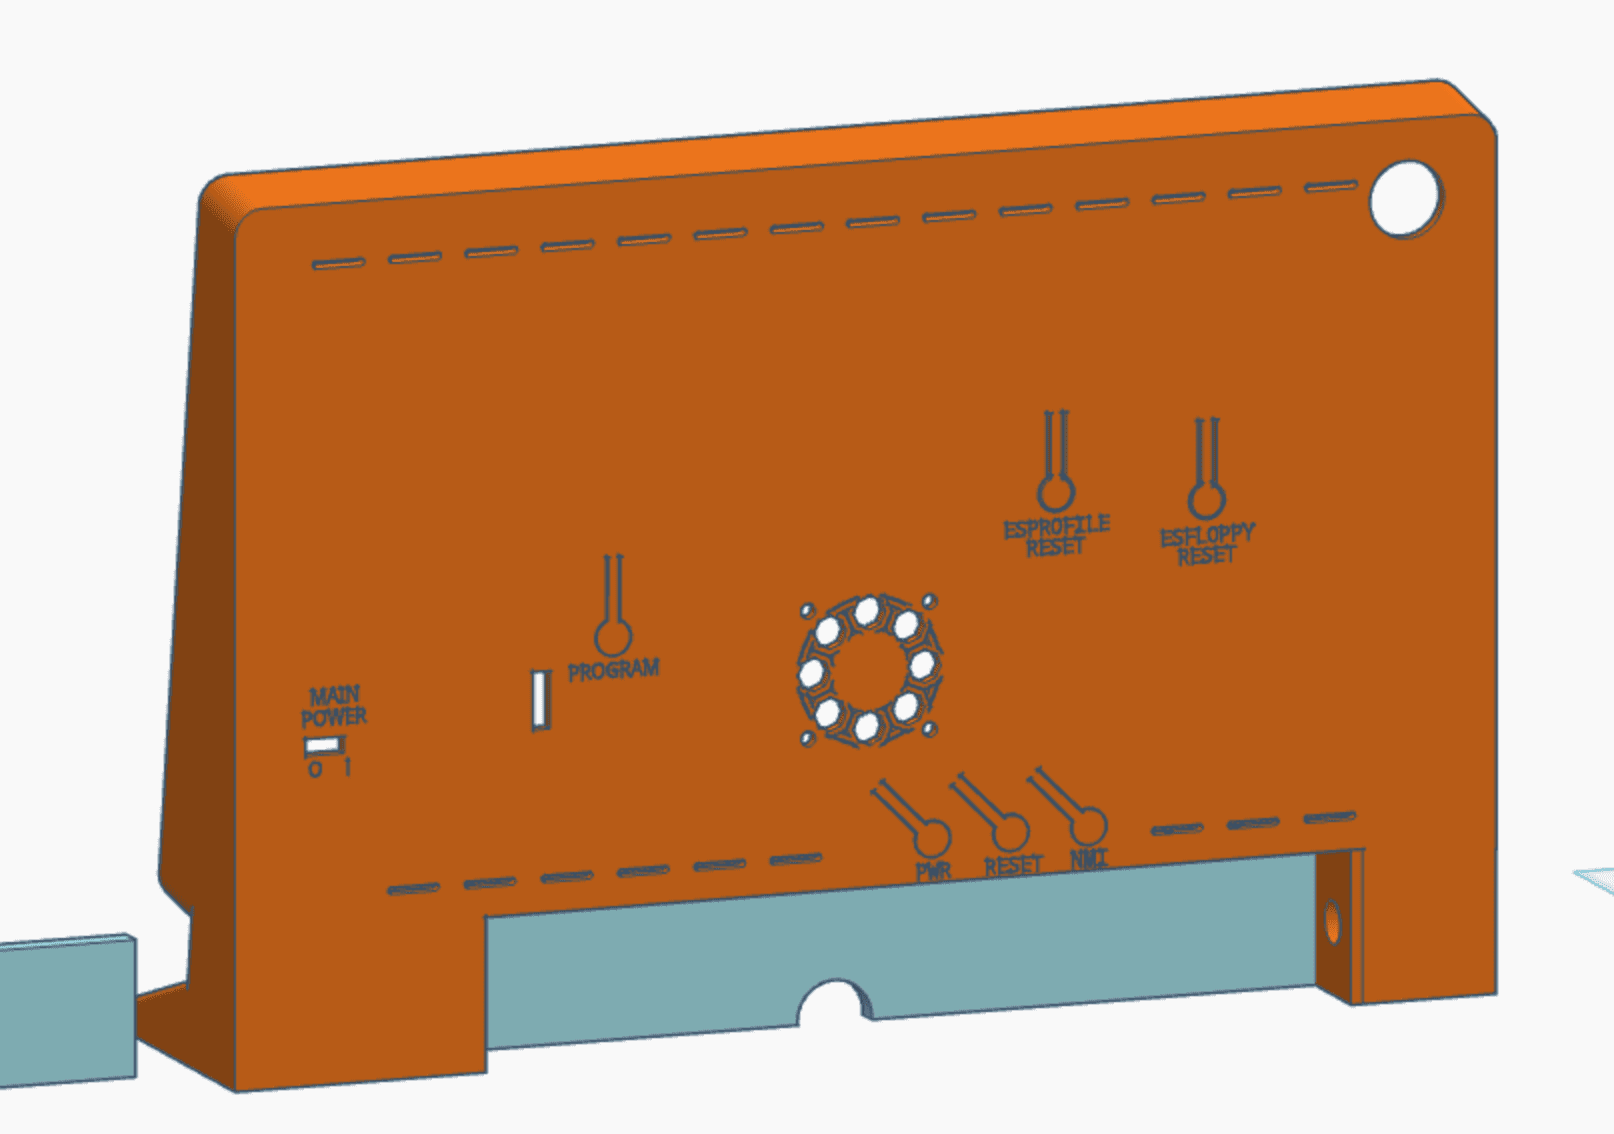
I'm printing it now, and I finally got my ESFloppy screen in. Note to others: if you do relocate the ESFloppy screen, triple check your wiring to make sure you don't get any wires mixed up! But it now is fully working, and I can test with my on screen menu system to confirm it doesn't cause problems. However, with LisaNet in place, I can do basically anything I would do on the onscreen menu without touching the machine. Those settings are all available (plus some settings not in the settings menu) in the LisaNet web interface. I'll be updating the 3d model files in the repo, cleaning up the instructions a bit, and sharing a video of it all in action.
Trying to make it modular so if anyone does create it, they can pick their level of customization. Moving the LED power button and ESFloppy to the front was a lot of extra work. I think it was worth it, because it really does make the experience much better. But there are risks and challenges with soldering to the LisaFPGA board (as evidenced by my fried ESFloppy LCD I had to replace).
So I've added a spot for a 40x40x10mm fan above the FPGA chip. I also have reworked the rear case so that it can be printed without supports. That required removing the skirt from the main body and allowing it to be printed separately. One advantage of that is that you can print the skirt you like (with the cutout for the keyboard cord, or without).
I'm printing it now, and I finally got my ESFloppy screen in. Note to others: if you do relocate the ESFloppy screen, triple check your wiring to make sure you don't get any wires mixed up! But it now is fully working, and I can test with my on screen menu system to confirm it doesn't cause problems. However, with LisaNet in place, I can do basically anything I would do on the onscreen menu without touching the machine. Those settings are all available (plus some settings not in the settings menu) in the LisaNet web interface. I'll be updating the 3d model files in the repo, cleaning up the instructions a bit, and sharing a video of it all in action.
Trying to make it modular so if anyone does create it, they can pick their level of customization. Moving the LED power button and ESFloppy to the front was a lot of extra work. I think it was worth it, because it really does make the experience much better. But there are risks and challenges with soldering to the LisaFPGA board (as evidenced by my fried ESFloppy LCD I had to replace).
