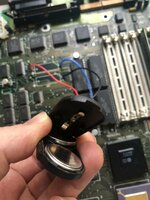
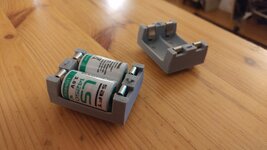
I happen to have one of these holders, and I'm not sure yours are different but mine actually has space for two CR2032s in serial = 6V. So it got me thinking: Can one of these holders replace both original 1/2 AAs?I prefer this other holder type for several reasons. The batteries are in an awkward spot under the drive carrier. It's easy to forget about them or to consider it not worth the effort to take them out when you store your Mac II or aren't sure if you'll use it for a long time. These carriers let you use CR2032s much less likely to leak, positions them above the carrier and they have off switches so you can save battery life when the Mac is in storage.
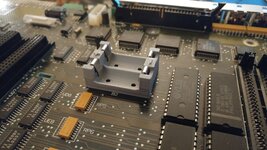
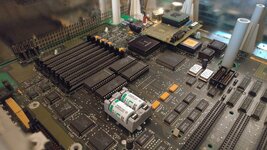
I paid $6 for 12 holders, installed them in eight different II's and Iix's without any issues. Give them a try next time!
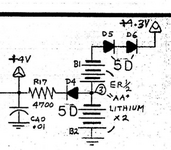
So tracking down the original Mac II schematics, at a glance the two batteries look like they're connected in serial, but perhaps someone who actually knows anything about electrical engineering can tell us why this wouldn't work?
Edit: I think I found my answer on Downtown Doug Brown's blog:
So no, you can't just use 6V! :-/The 3.3V voltage is for powering the PRAM and clock while the computer is turned off. The 7V voltage is for turning the power supply on when you press either of the computer’s power buttons.
Attachments
Last edited: